Step 1 - Create application structure in the Pages window
In this step of the tutorial you create a Kanzi Studio project and import the assets you need for that project. Then you use the Pages window to create the application structure.
Assets for the tutorial
The assets you use in this tutorial are stored in <KanziWorkspace>/Tutorials/Pages/Assets.
The <KanziWorkspace>/Tutorials/Pages/Completed directory contains the completed project of this tutorial.
Create a project and import assets
In this section you create a project and import assets you use to create the application in this tutorial.
To create a project and import assets:
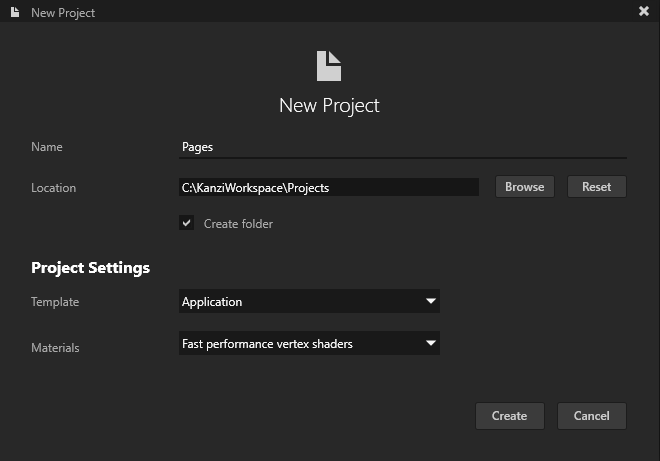
- In the Kanzi Studio in Quick Start screen click New Project.

- In the New Project window name your project. You can leave all other values as they are.
Click Create to create the project.
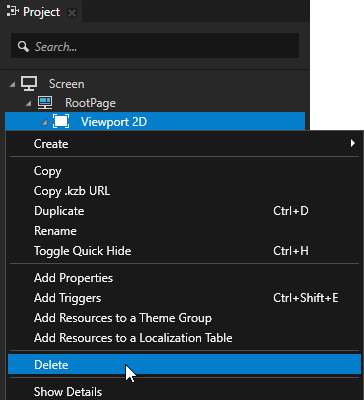
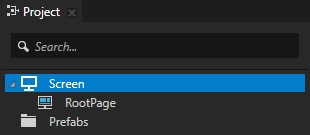
- In the Project right-click the Viewport 2D node and select Delete to delete the node.
You can delete the Viewport 2D node because you do not create any 3D content in this tutorial.
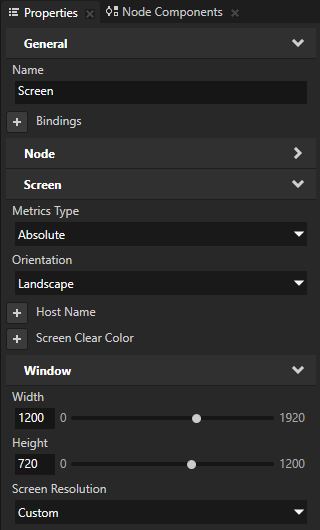
- In the Project select the Screen node and in the Properties set:
- Metrics Type to Absolute
- Width to 1200
- Height to 720
This way you set the size of the application screen.
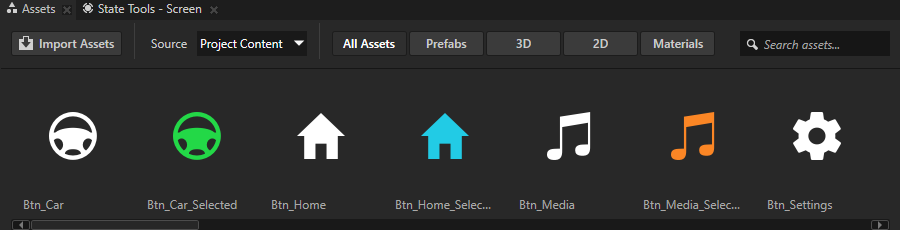
- In the Assets window located in the bottom part of the Kanzi Studio window click Import Assets.

- Go to the <KanziWorkspace>/Tutorials/Pages/Assets directory, select all files, and click Open.
Kanzi Studio imports the selected assets to your project and shows them in the Assets window. Use the Assets window to view, select, and use the assets in your project.
Create the application structure
In this section you create the application structure with Page and Page Host nodes using the tools in the Pages window. In Kanzi Studio the Pages window is by default next to the Library and Dictionaries windows.
To create the application structure:
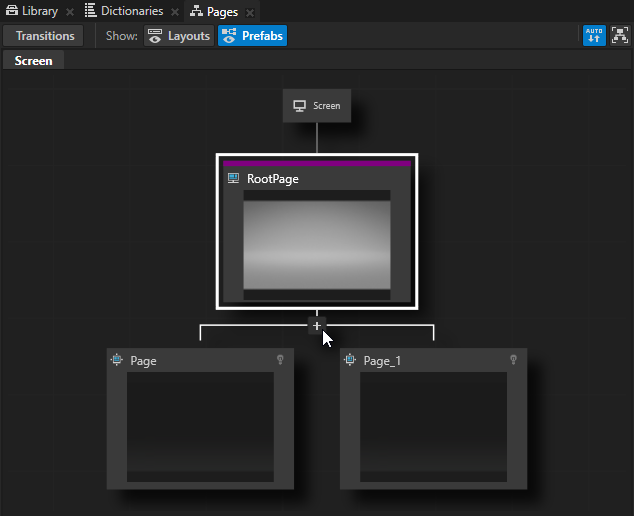
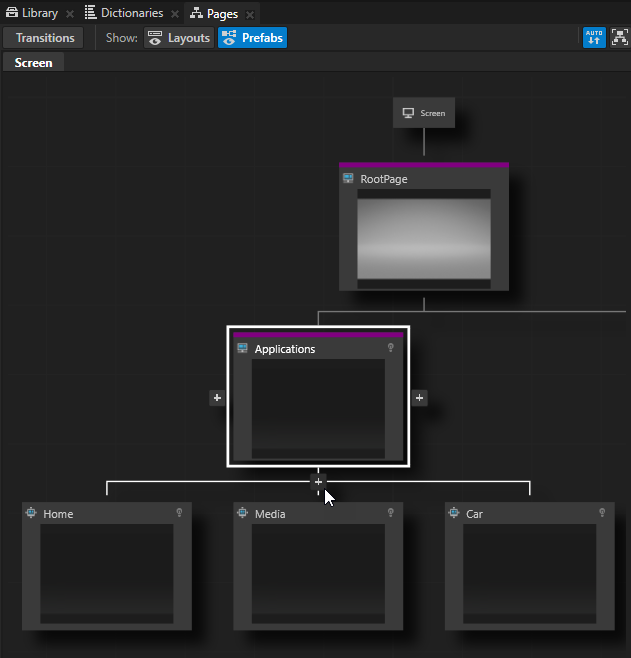
- In the Pages window move your mouse pointer over the RootPage and click
 twice to create two Page nodes under the RootPage node.
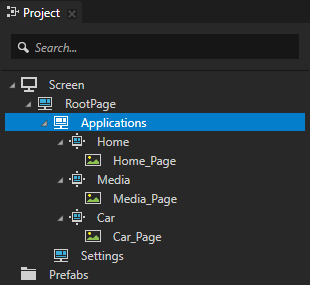
When you create Page nodes in the Pages, you can see the same Page nodes in the Project too.

To pan and zoom in the Pages window, use these controls:
- Click and drag the middle mouse button.
- Press the Space key, and click and drag the left mouse button.
| Pan |
- Scroll the mouse wheel.
- Press the Shift and Alt keys, and click and drag the left mouse button.
| Zoom |
| | |
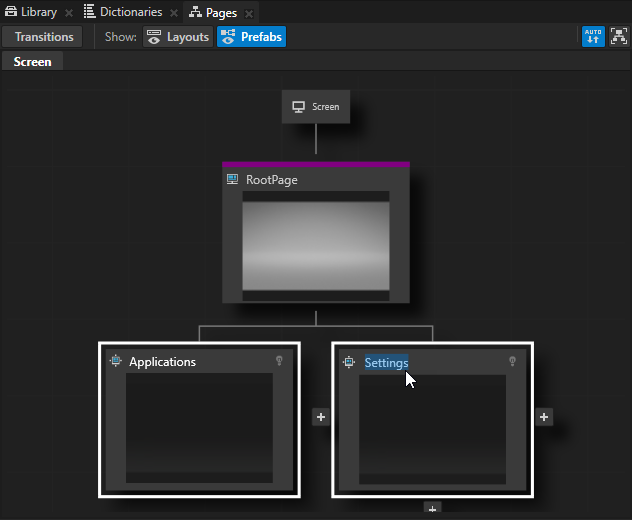
- In the Pages double-click the names of the Page nodes you created in the previous step and rename them to Applications and Settings.
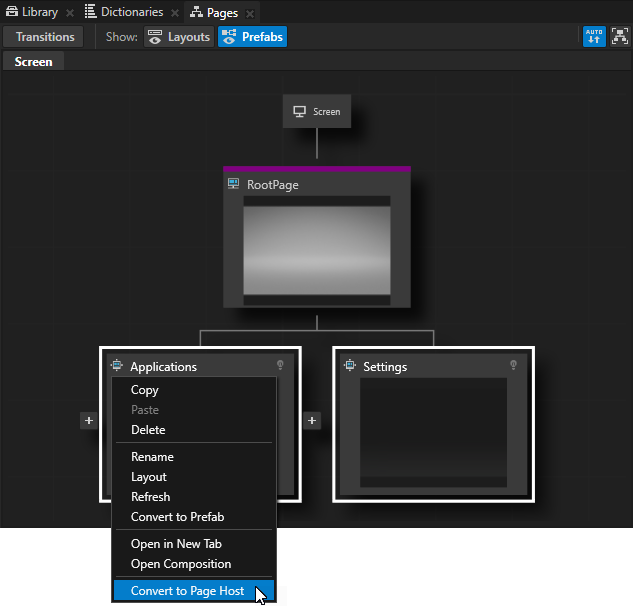
- In the Pages right-click the Applications and Settings nodes and select Convert to Page Host.
Use a Page Host node to group other Page Host and Page nodes. The main difference between the Page and Page Host nodes is that the Page Host node manages navigation requests and transitions in its tree.
In this tutorial the Page Host node Applications holds the content of Page nodes, each of which represents an application, while the Page Host node Settings holds the content of a popup window that is shown on top of the applications. You add content to the Settings popup window in the last step of the tutorial.
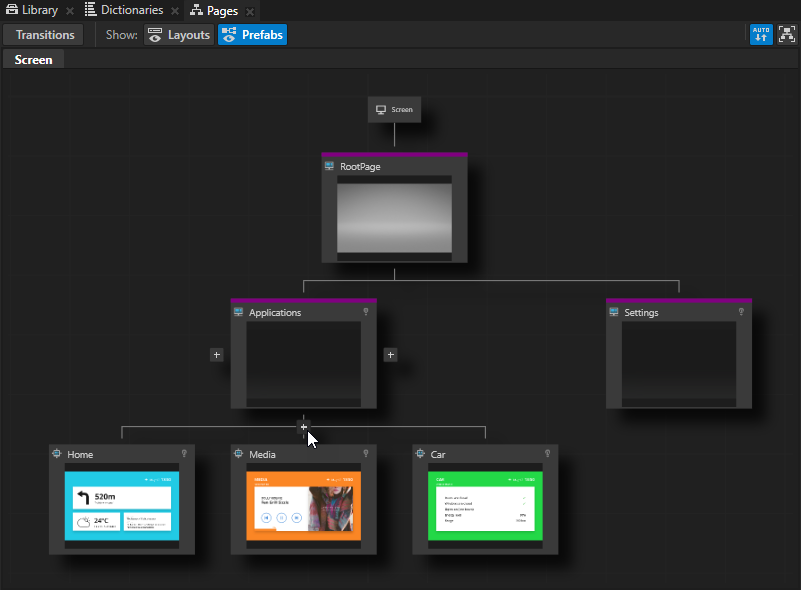
- In the Pages move your mouse pointer over the Page Host node Applications and at the bottom of that node click three times to create three child Page nodes under the Applications node, and name them Home, Media, Car.
Each of these Page nodes holds the content for their application. For prototyping purposes in this tutorial you add only images of these applications. However, when you move your application from the prototype phase to the development phase, replace the placeholders with the content of these applications.TIPTo see the entire structure of Page and Page Host nodes in your application, in the Pages window click  .
.
- From the Assets to the Pages window drag and drop:
- Home_Page texture to the Home node
- Media_Page texture to the Media node
- Car_Page texture to the Car node
When you drop an image from the Assets on a Page or a Page Host node in the Pages, Kanzi Studio creates an Image node with the image you dropped.TIPWhen you click on any Page or Page Host node in the Pages window, Kanzi transitions to that node and you can see the transition in the Preview.
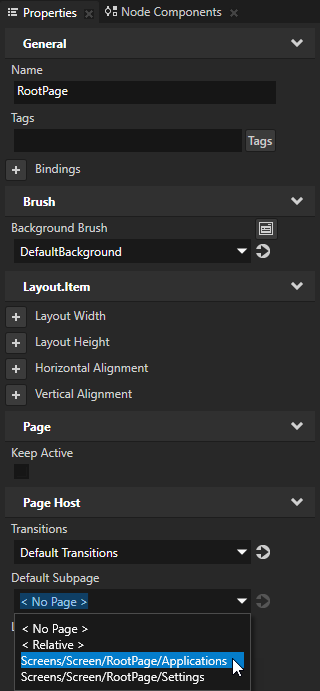
- Configure the application so that it shows the contents of the Home node when you start the application:
- In the Project select the RootPage node and in the Properties set the Default Subpage property to the Applications node.
By setting the Default Subpage property you tell Kanzi which Page or Page Host node to activate when this Page Host becomes active.
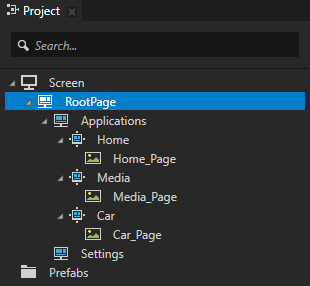
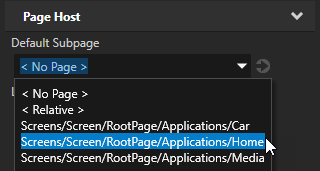
- In the Project select the Applications node and in the Properties set the Default Subpage property to Home.
< INTRODUCTION
NEXT STEP >
See also
To find out more about importing assets to your projects, see Importing.
To find out more about the Page and Page Host nodes, see Using the Page and Page Host nodes.

Open topic with navigation